
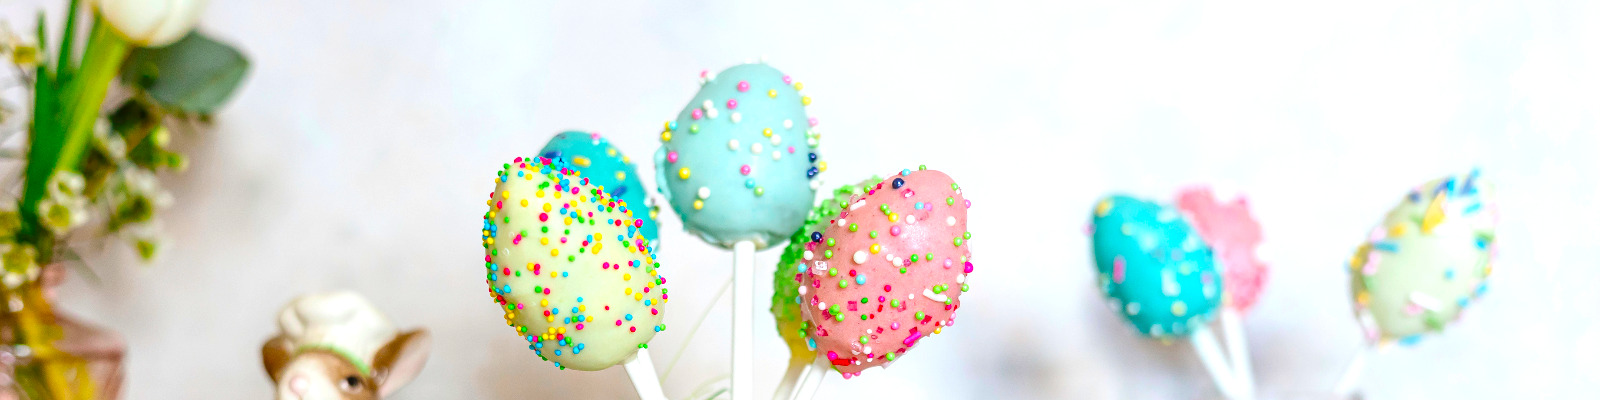

Gluten Free Cake Egg Pops

- Preheat the oven to 350°F (175°C).
- Line your cake pan with parchment paper.
- Prepare the cake according to the package instructions, but for this recipe we will add 1 extra egg, using 4 eggs (instead of 3 as stated on the package)
- Bake the cake for 35 to 40 minutes (this is longer than the package instructions due to the extra egg)
- Crumble the cake into fine crumbs with a kitchen mixer or your hands, while still warm.
- Add the yoghurt a little at a time until the mixture holds together, but isn’t too sticky.
- Shape the mixture into egg forms and place them on a baking sheet lined with parchment paper. Refrigerate the cake eggs for 20 minutes.
- In microwave safe jars, melt the white chocolate with coconut oil in 30-second intervals, stirring until melted and smooth. Add about 1 drop of food colouring per container. You’ll need enough chocolate to completely cover the cake pop.
- Insert a lollipop stick into the chocolate mix first, and then press it about 1/2 way into each cake pop. Chill for 20 minutes and dip the cake pop into the melted chocolate, letting the excess drip off.
- Immediately, while the chocolate is warm, add sprinkles and place the pops upright in a jar.
- Let the coating harden at room temperature or in the fridge.
Replace the yogurt, milk and chocolate with a dairy free option if needed
Substitutes:
Tips and Tricks:
1. Cake Pop Consistency
• The cake mixture should feel like play dough - moist but not too sticky.
• If it’s too dry, add a little more yoghurt. If too wet, let it chill before rolling.
2. Rolling & Shaping
• Roll cake balls firmly but gently to avoid cracks.
• Keep them uniform in size (about 1tbsp) for even dipping.
• Chill for 15–20 minutes in the fridge before inserting sticks
3. Adding the Sticks
• Dip the cake pop stick in melted chocolate (this is important) before inserting into the cake.
• Push the stick ½ to ⅔ into the cake egg without going through the other side.
4. Dipping Without Cracks or Falls
• Use melted white chocolate wafers with a little coconut oil to help it set and for the right consistency.
• If the chocolate is too hot, it can cause cracks as it cools. If it’s too cool, it will be too thick and won’t coat smoothly.
• Reheat the chocolate as needed.
• Dip the cake pop in one smooth motion, then gently tap off excess coating.
• Keep the cake pops upright while they set.
5. Decorating & Storage
• Add sprinkles immediately after dipping and before the coating sets.
• Let cake pops dry completely before packaging or storing.
• Store in the fridge for up to a week.
Directions
- Preheat the oven to 350°F (175°C).
- Line your cake pan with parchment paper.
- Prepare the cake according to the package instructions, but for this recipe we will add 1 extra egg, using 4 eggs (instead of 3 as stated on the package)
- Bake the cake for 35 to 40 minutes (this is longer than the package instructions due to the extra egg)
- Crumble the cake into fine crumbs with a kitchen mixer or your hands, while still warm.
- Add the yoghurt a little at a time until the mixture holds together, but isn’t too sticky.
- Shape the mixture into egg forms and place them on a baking sheet lined with parchment paper. Refrigerate the cake eggs for 20 minutes.
- In microwave safe jars, melt the white chocolate with coconut oil in 30-second intervals, stirring until melted and smooth. Add about 1 drop of food colouring per container. You’ll need enough chocolate to completely cover the cake pop.
- Insert a lollipop stick into the chocolate mix first, and then press it about 1/2 way into each cake pop. Chill for 20 minutes and dip the cake pop into the melted chocolate, letting the excess drip off.
- Immediately, while the chocolate is warm, add sprinkles and place the pops upright in a jar.
- Let the coating harden at room temperature or in the fridge.
Replace the yogurt, milk and chocolate with a dairy free option if needed
Substitutes:
Tips and Tricks:
1. Cake Pop Consistency
• The cake mixture should feel like play dough - moist but not too sticky.
• If it’s too dry, add a little more yoghurt. If too wet, let it chill before rolling.
2. Rolling & Shaping
• Roll cake balls firmly but gently to avoid cracks.
• Keep them uniform in size (about 1tbsp) for even dipping.
• Chill for 15–20 minutes in the fridge before inserting sticks
3. Adding the Sticks
• Dip the cake pop stick in melted chocolate (this is important) before inserting into the cake.
• Push the stick ½ to ⅔ into the cake egg without going through the other side.
4. Dipping Without Cracks or Falls
• Use melted white chocolate wafers with a little coconut oil to help it set and for the right consistency.
• If the chocolate is too hot, it can cause cracks as it cools. If it’s too cool, it will be too thick and won’t coat smoothly.
• Reheat the chocolate as needed.
• Dip the cake pop in one smooth motion, then gently tap off excess coating.
• Keep the cake pops upright while they set.
5. Decorating & Storage
• Add sprinkles immediately after dipping and before the coating sets.
• Let cake pops dry completely before packaging or storing.
• Store in the fridge for up to a week.